
Now I haven't touched my sewing machine for a number of years...As you can see by the dirt and dust here!

This machine is pretty special to me. It's an ancient Singer. My Dad bought it in his small country town op shop for five whole dollars! He was so impressed with it's condition and quality that he went back to the op shop the next day and gave them another five whole dollars! And he gave it to me! Blessed! (it's about the only thing my Dad has given me in the last 10 years - he doesn't believe gift giving) And it really is a beauty! And kitsch. And a little Stepford Wife <3

Fabric - what a mission. My local fabric store had a 50% off sale. Pandemonium! I am also terrible at making decisions. But with the help of my crazy (and awesome) mumma, I did it!

Heavy interfacing, dark russian blue for the inside, floral pattern and red linen for main and contrast, ribbon for "handles". And away we go!
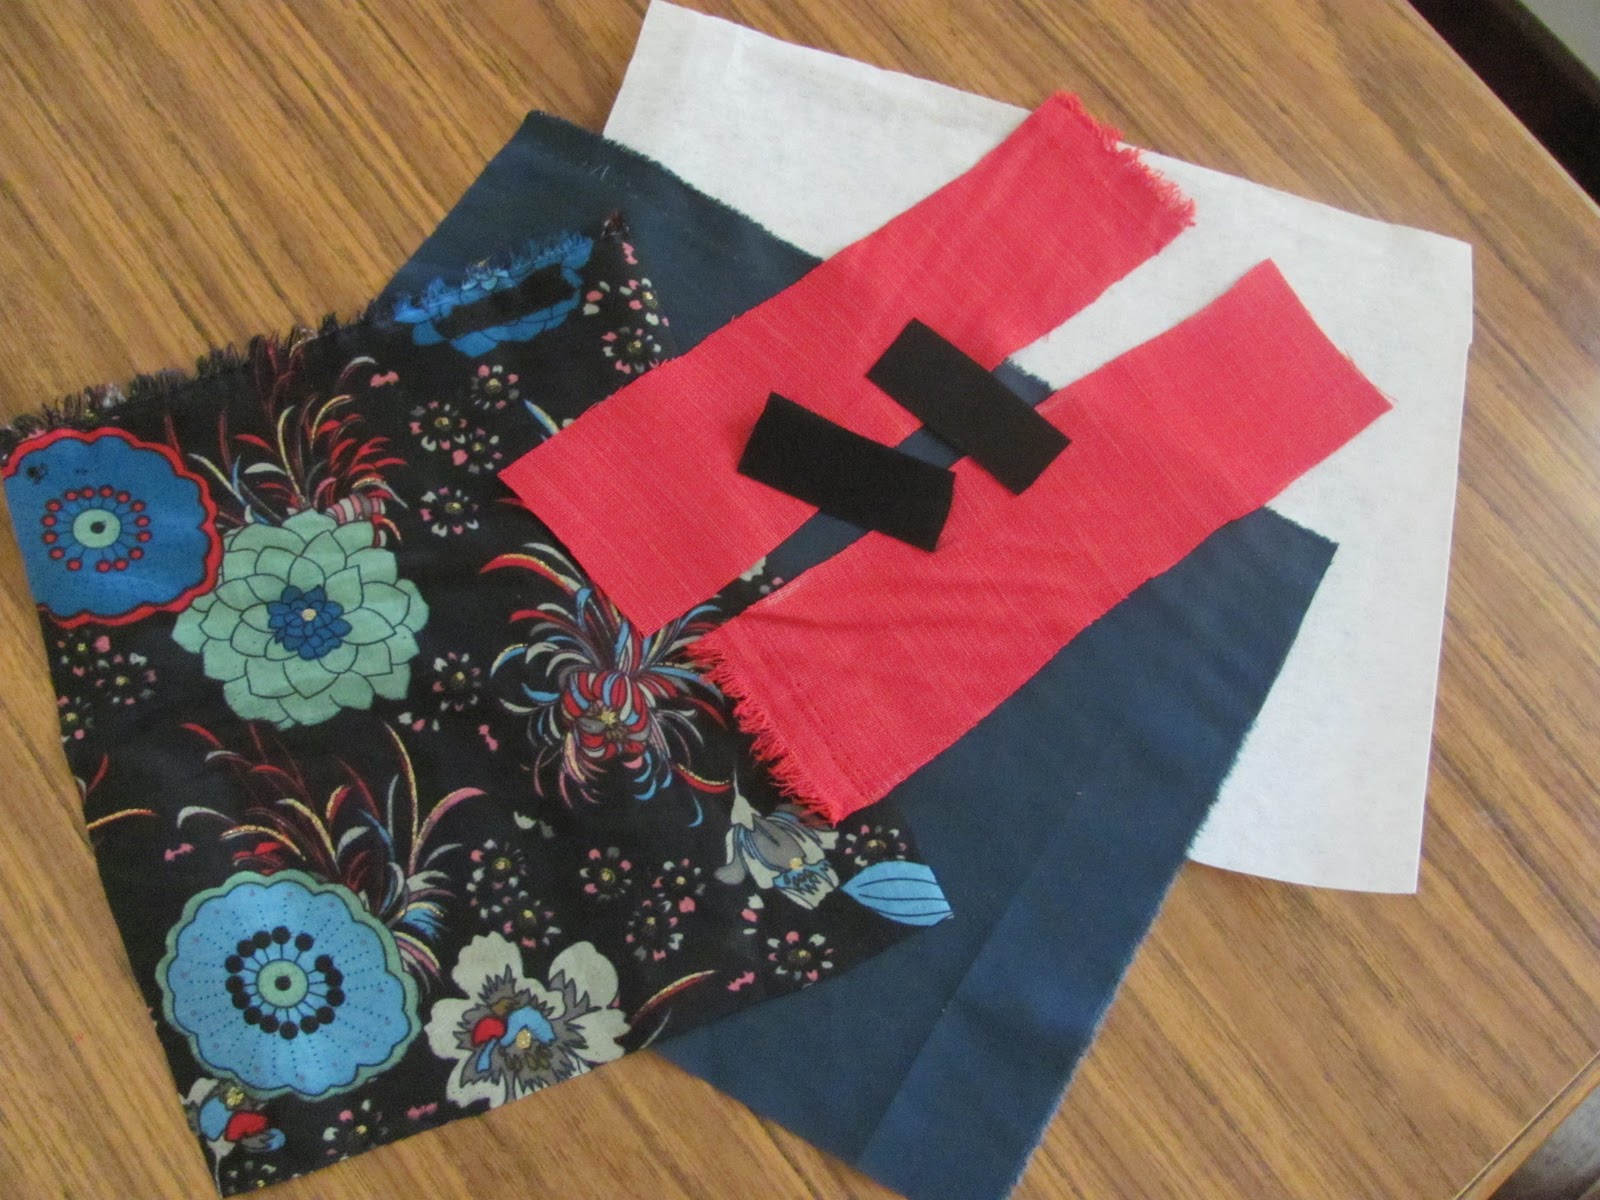 |
| Cut |
 |
| Iron |
 |
| Pin and Sew! |
 |
| Finished! |
 |
| Three more done! |
Things I discovered along the way...
- I didn't sew over my fingers! Although it did get a bit hectic there at one stage!
- Measure twice, cut once. The box with the red base seems to be a little larger than the rest.
- Iron at every step. I didn't iron down the top seam of the first one and it didn't finish off as nicely.
- Get some at least semi-decent sewing scissors, or a rotary cutter.
- Cut in a straight line! There has to be some trick to this, just gotta!
- Less stiff interfacing for the small boxes and maybe stiffer for the larger ones.
- 1m of each kind of fabric, really goes a long way!
- I had fun :)

a very nice read :D
ReplyDelete